Posts tonen met het label 4 strand Dutch braid. Alle posts tonen

dinsdag 7 april 2020

4 strand Dutch braid

A 'normal' 4 strand braid with hair added in is a French / Dutch braid. But there's also a technique to do a completely Dutch version of this braid. To do so, you have to add in the hair to the strand you cross over when it crosses under. This means it's important to master the regular 4 strand braid first and I would also advise to practice the French/Dutch version before trying this braid.

The technique:
4 strand Dutch braid tutorial


Ideas:


The 4 strand Dutch braid, as explained in my tutorial.


A simple variation: a diagonal 4 strand Dutch braid.


The same diagonal 4 strand Dutch as the photo above, only now a looser version for a more relaxed look


Instead of braiding until the end of the hair you can also finish off the style with a messy bun.


Also a fun variation: the 4 strand Dutch braid as headband braid.


vrijdag 23 september 2016

Headband braid

A headband braid is basically a braid that's done near the front of the head. You can use any braiding technique you like to do a headband braid - from French to Dutch braid, from rope braid to 3D round braid to 5 strand braid... If you know a braiding technique, you can do a headband braid with it!

The technique:
Headband braid tutorial I (Round 3D braid technique)
Headband braid tutorial II (5 strand Dutch braid technique)
Headband braid tutorial III (Ladder braid technique)

Ideas:


Round 3D headband braid as explained in Headband braid tutorial I.

5 strand Dutch braid as headband braid as explained in Headband braid tutorial II. Added to it is a Dutch waterfall braid.

Ladder headband braid as explained in Headband braid tutorial III.

4 strand Dutch braid as headband braid.

Double Dutch braid as headband braid.

French fishtail headband braid with a slide up braid.


vrijdag 19 augustus 2016

Vakantiekapsels III // Vacation hairstyles III

Vakantiekapsels III

Hierbij opnieuw een aantal vakantiekapsels, deel drie alweer. Bij elke foto staat vermeld waar de foto gemaakt is, dit staat onderstreept. De dik gedrukte tekst legt uit hoe het kapsel gemaakt is. Daarbij staat vaak een link naar een YouTube filmpje met meer uitleg. Wil je nog meer weten over hoe het kapsel gemaakt is (of heb je een andere vraag)? Laat dan even een reactie achter!

Vacation hairstyles III

Again some vacation hairstyles, part three already again. Each photo has listed below where it was taken, this is underlined. The words in italic will explain how the style was done. It often includes a YouTube link to make it easier. If you'd like to know more about the hairstyle (or if you have another question), then feel free to leave a reaction!

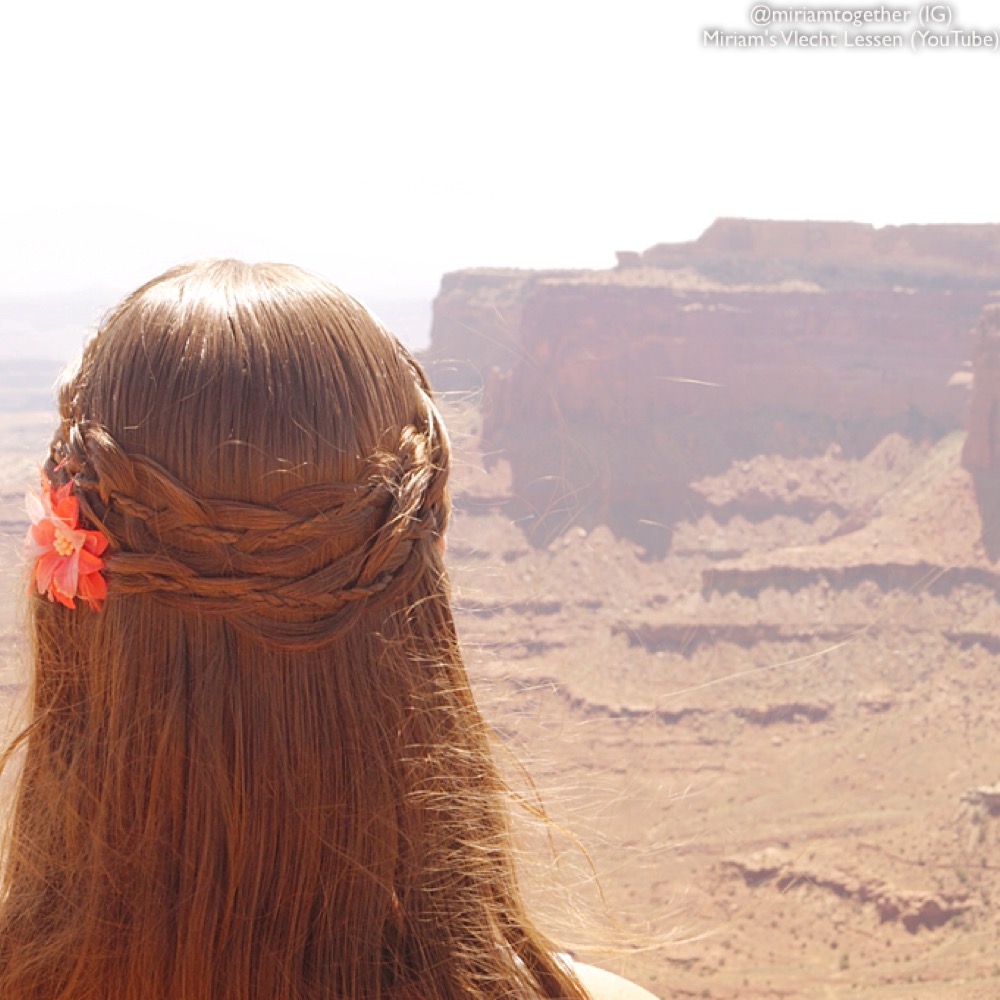
Canyonlands
Maak twee 4 plukken vlechten met microvlechtjes zoals uitgelegd in het filmpje.
Do two 4 strand braids with a microbraid as explained in the tutorial.


Arches National Park
Begin iets achter het linkeroor met het maken van een kantvlecht. Je voegt dus alleen aan de voorkant haar toe. Probeer de vlecht te 'sturen', zodat het een ronde vorm wordt. Ben je bij het rechteroor, vlecht dan nog een klein stukje door en maak dan een staart van het losse haar en het vlechtje. Pak het bovenste gedeelte van de staart en maak hier een gewone vlecht mee. Stop om de paar stukjes en pancake (maak breder) aan één kant. Breng de vlecht dan in de vorm van een bloem en zet vast met schuifspeldjes onder de kantvlecht.
Start just behind the left ear with a lace braid. You'll only add hair from the front. Try to give the braid a good direction, so that it becomes a round shape. When you've reached the right ear, braid on a little further and then make a ponytail from the loose hair and the braid. Take the top section from the ponytail and start a regular braid. Stop every few stitches to pancake the braid on one side. Then turn the braid into the shape of a flower and pin it into place below the lace braid.


Arches  National Park
Zie de uitleg hierboven.
Read the instructions under the above photo.


Capitol Reef
Begin linksboven met het maken van een 4 plukken opvlecht.
Start top left with a 4 strand Dutch braid.


Bryce Canyon
Opnieuw een 4 plukken opvlecht.

Zion National Park
Begin aan de rechterkant met een Geknoopte waterval vlecht. Ga door tot het linkeroor en maak dan een slordig knotje van al het haar, inclusief de waterval vlecht. Maak eventueel af met een bloem of strik.
Start on the right side with a Knotted waterfall braid. Continue until you've reached the left ear and then create a messy bun with all of the hair, including the waterfall braid. Finish off the style with a flower or a bow if you like.


dinsdag 27 oktober 2015

Basic techniques - level 4 and further


Basic techniques - level 4 and further

Those who have mastered the level 1, 2 and 3 basic techniques, will be able to create loads of different hairstyles already. If you wish to challenge yourself even further, then try to master these last basic techniques:

  • Dutch / French braiding with 5 strands: the 5 strand Dutch braid is one of my favorite braids. A beautiful big braid that's actually quite easy as you can hold your two left strands and your two right strands together every time.
  • 4 strand waterfall braid: again one of my favorite braids. Again not very difficult, as you only need to master a 4 strand braid for this. For the best result I advise to start with under-over, so crossing the strand closest to the part under first of all.
  • 4 strand Dutch braid: a regular 4 strand braid turns into a French/Dutch braid when you're adding in hair. By adding in hair a little different, you'll have a completely Dutch braid. This is how it works: start with a regular braid stitch - under-over; over-under. Now add hair to the left strand and cross it under-over. Now take your right strand and cross it over the strand next to it (for now I'll call this strand X). Now add hair to the right strand, but cross this hair under strand X first before adding it to the right strand. Now cross the right strand with the hair added to it under the strand next to it. Keep repeating this until you have no more hair to add.
  • French (Dutch) 3D braid: the 3D round braid is very beautiful too when you're adding in hair. This is the same as for a regular French / Dutch braid: add in hair and then cross the strand under the two strands next to it and twist it around the second strand.

When you've mastered all of these techniques, there's of course even more difficult braids to try. These more difficult braids often have more strands (6, 7, 8 or even 9) or one or more ribbons. For the advanced braiders, I'll share the link to my tutorial on the 6 strand braid and the 6 strand slide up braid with ribbon, but if you've mastered all the techniques I've explained, you can call yourself a real braiding champion!