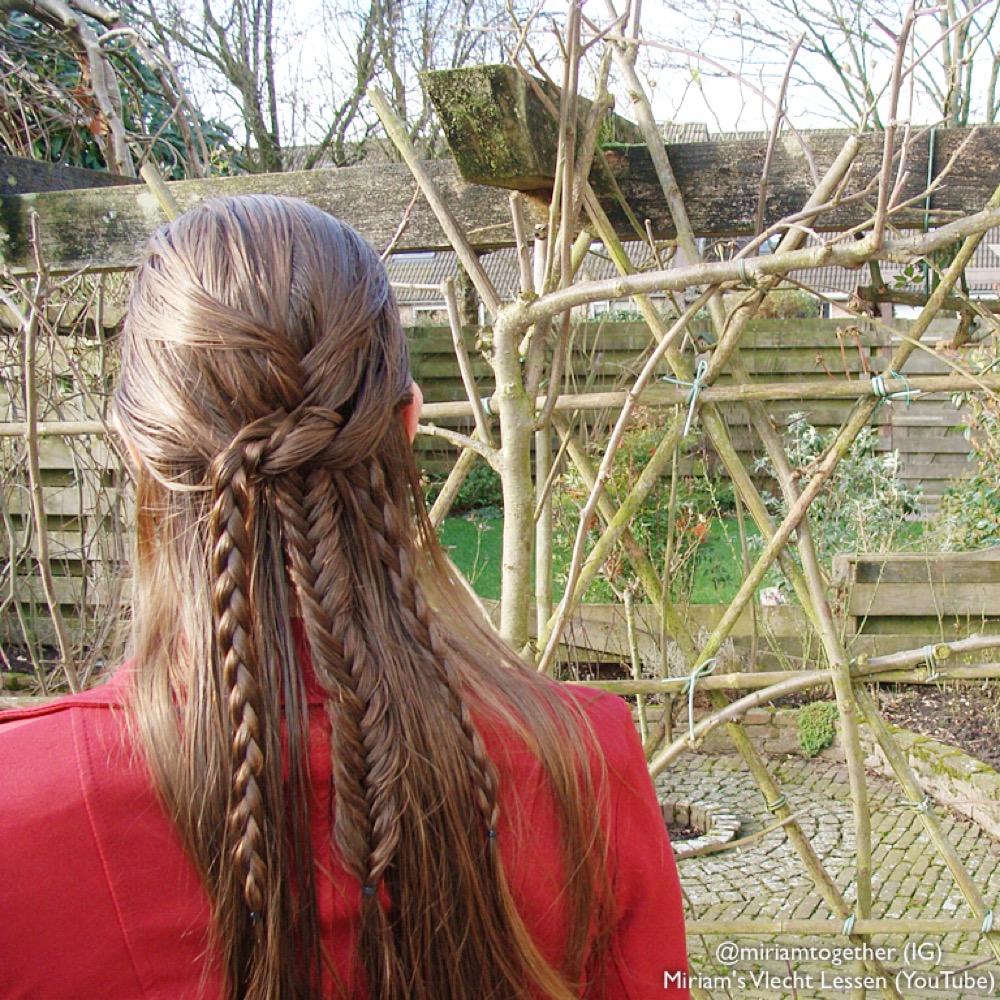
Vlechten met 4 plukken
Wie begint met vlechten, zal uiteraard eerst de gewone vlecht - inclusief
invlechten en
opvlechten - willen beheersen en daarna de
vissengraatvlecht. Ook een twist behoort tot de vlechten waar veel mensen mee beginnen. Maar niet eens zo veel moeilijker is de vlecht met 4 plukken. Wie deze vlecht beheerst, zal weer een heleboel nieuwe kapsels kunnen maken, want met deze vlecht kun je ontzettend veel variëren.
Allereerst is er de
gewone vlecht met 4 plukken: het haar in 4 plukken verdelen, links onder - over; rechts over - onder of precies andersom (links over - onder; rechts onder - over). Hierbij is er één pluk die altijd in het midden blijft: de derde pluk, geteld vanaf de kant waar je begint met vlechten. Beheers je de techniek, dan zou je deze derde pluk kunnen vervangen door een
lint of door een
microvlechtje.
Wie nog iets meer wil, kan haar gaan toevoegen voor een
ingevlochten 4 plukken vlecht. De vlecht wordt dan een half ingevlochten / half opgevlochten vlecht, aangezien je aan de ene kant over - onder gaat (als een invlecht) en aan de andere kant onder - over (als een opvlecht). Het is ook mogelijk om een volledige opvlecht met 4 plukken te maken, een filmpje hierover zal begin maart op
mijn YouTube kanaal te zien zijn.
Als laatste is er nog de
3D vlecht, de gewone en de
ingevlochten versie. Hierbij vlecht je ook met 4 plukken, maar net op een andere manier. Ook deze techniek geeft weer erg leuke kapsels!
Wil je meer inspiratie en/of uitleg over 4 plukken vlecht? Bekijk dan de afspeellijst
Vlechten met 4 plukken!
Een 4 plukken vlecht met microvlechtje
A 4 strand braid with microbraid
4 strand braids
Those who are starting to braid, will of course want to master the regular braid - including the
French and
Dutch variation. Then the
fishtail braid is the braid to learn, as well as the twist. But not even that much more difficult is the 4 strand braid. Those who have mastered this braid, will be able to create a whole lot of new hairstyles again, as this braid is great for variation.
First of all there's the
regular 4 strand braid: divide the hair into 4 strands, cross left under - over; right over - under or the exact other way around (left over - under; right under - over). With this technique there's one strand that always stays in the middle: the third strand, counted from the side where you're starting to braid. If you've mastered the technique, you could replace this third strand with a
ribbon or
micro braid.
Those wanting more, can try to add hair for a
French/Dutch 4 strand braid. It's French/Dutch as on one side you're braiding over - under (like a French braid) and on the other side under - over (like a Dutch braid). It's also possible to create a full Dutch braid, a tutorial on this will go live on
my YouTube channel the beginning of March.
Last of all there's the
3D braid, the regular and the
Dutch braided version. Again you're braiding with 4 strands, only now in a different way. This technique will give you a lot of great hairstyles again!
Would you like more inspiration and/or explanations on the 4 strand braid? Then check out the playlist
4 strand braids!